In part 1 we created a template for the main scratchplate and in part 2 brass sheet was cut out and shaped to form the scratchplate. In part 3 we designed and built the tailpiece and came up with a design for the bridge and in part 4 we built the bridge and had the scratchplate engraved. In part 5 we sorted out a nut and some tuners. Now it’s time to finally put it all together…
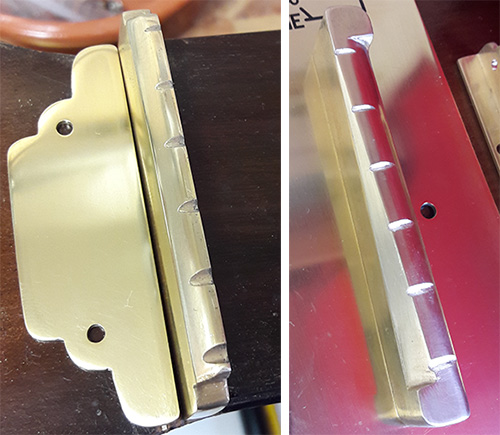
The first task was to cut the string slots for both the nut and the bridge. The bridge slots need to be cut at an angle to compensate for the bridge itself being angled when attached to the scratchplate.

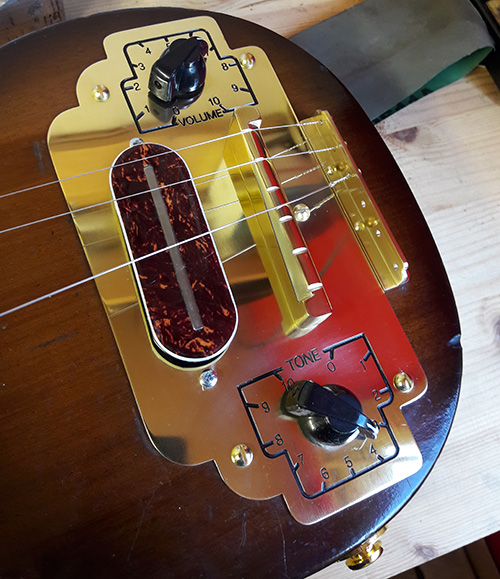
The pickup and pots are mounted on the scratchplate and then it’s wired up with vintage cloth push back wiring and a Sprague orange drop capacitor…

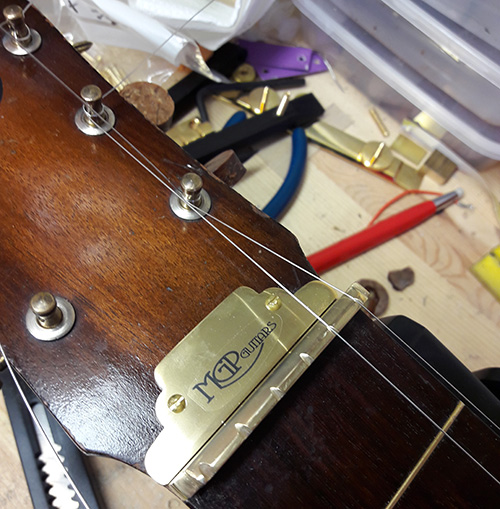
Once the bridge has been attached, the scratchplate gets screwed down to the body, as does the tailpiece and the decorative cover behind the nut.
And now it’s time for strings…


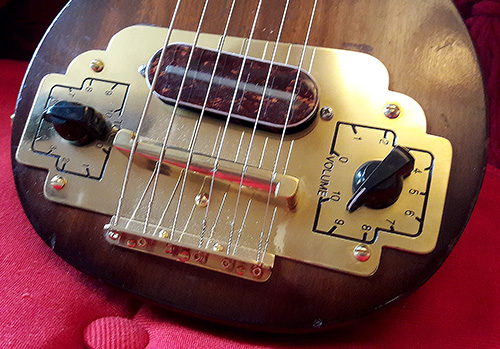
At long last the Selmer is a playable instrument again – what was once an empty shell is now a lovely instrument, which sounds as good as it looks…
Update: see what happened next in the epilogue…


