

In part 1 a plan of how to proceed was formed and a CAD template for the main scratchplate was created.
Now it was time to get to work on the scratchplate.
First, using a hacksaw, a piece of brass sheet was cut to the approximate size and shape…
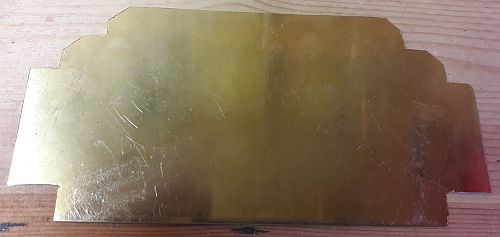
and the template applied.
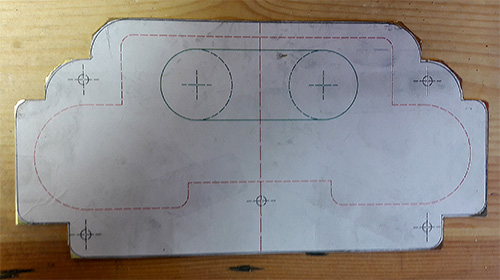
Then the corners are filed and sanded until they match the template…
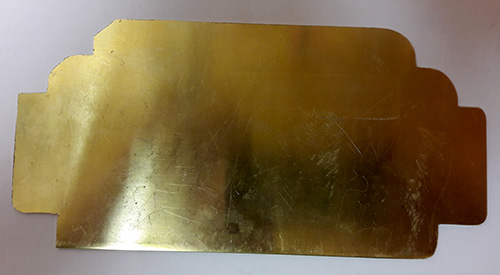
Once the other half of the scratchplate has been rounded and shaped it’s time for the next step, deciding what to do about the bridge and tailpiece…
